Lighting Techniques Tutorial Series - Part 01.
I’m very happy to start this kind of Tutorial series. After years of silence, more or less working non stop most of the year, I want to give something back again. I’ve started this blog 2010 and posted mainly news stuff about cameras and gear. This is boring, because too many sites are doing something like this. It’s okay, but can you learn something after reading those articles? Yes, you know which camera can perform best in low light situations and which camera has other issues or highlights. It helps you for your daily work, you know exactly which camera fits perfectly for your needs. But isn’t camera tech something which is changing all the time and what stays is the lens and the light? If you know how to light, any camera can shine. You just need to know your camera and how to light for it.
In this Lighting Techniques Tutorial Series I will share in depth lighting tricks. Free of Charge. Just for you. At the beginning I will only show you snippets of Feature Film and Commercial work and will dive into it. First of all, you should watch the video above. Below of this video you will find an explanation, light plan and additional frame grabs.
Information about the Project
Film: September Storm
Director: Marco Serafini
Director of Photography: Sebastian Wiegärtner, BVK
Gaffer: Markus Müller
Cast: Christine Schorn
Location: Öland, Sweden
Camera: ARRI Alexa Plus
Lenses: ZEISS Standard Primes
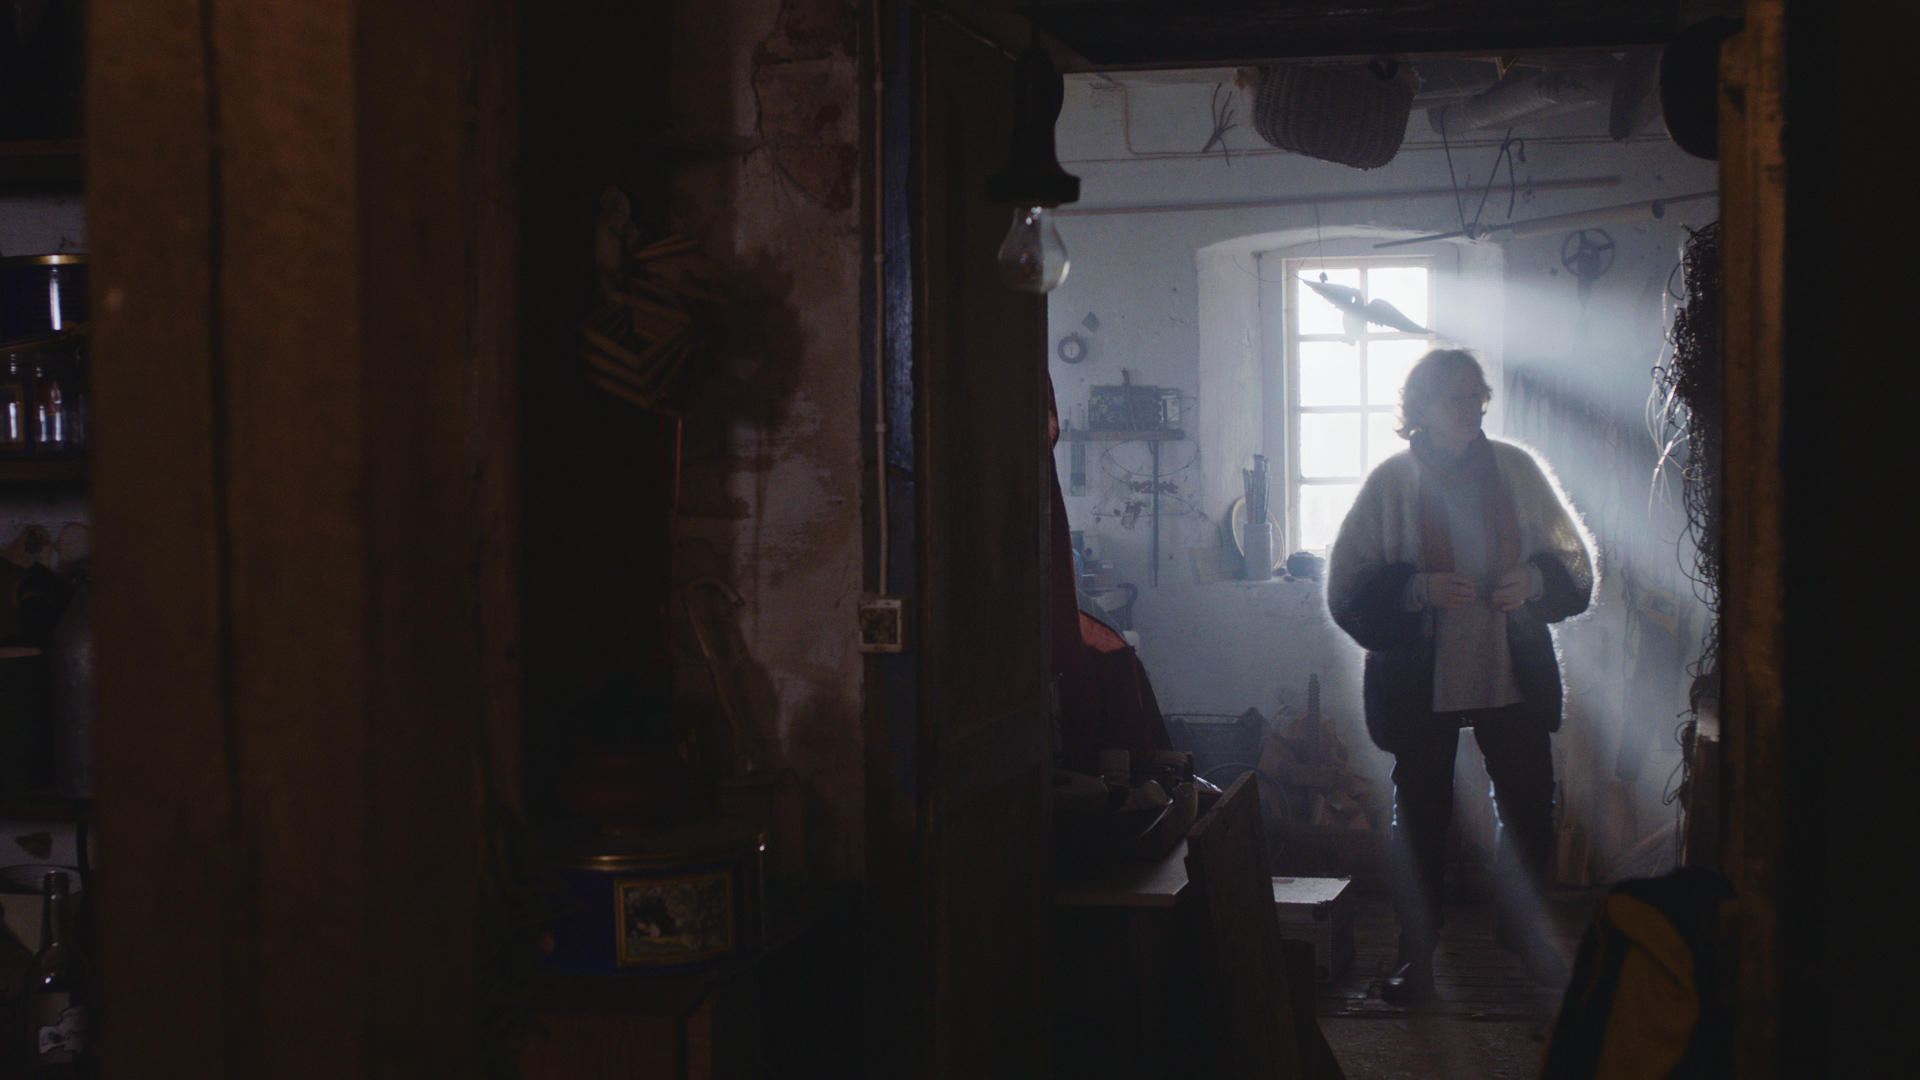
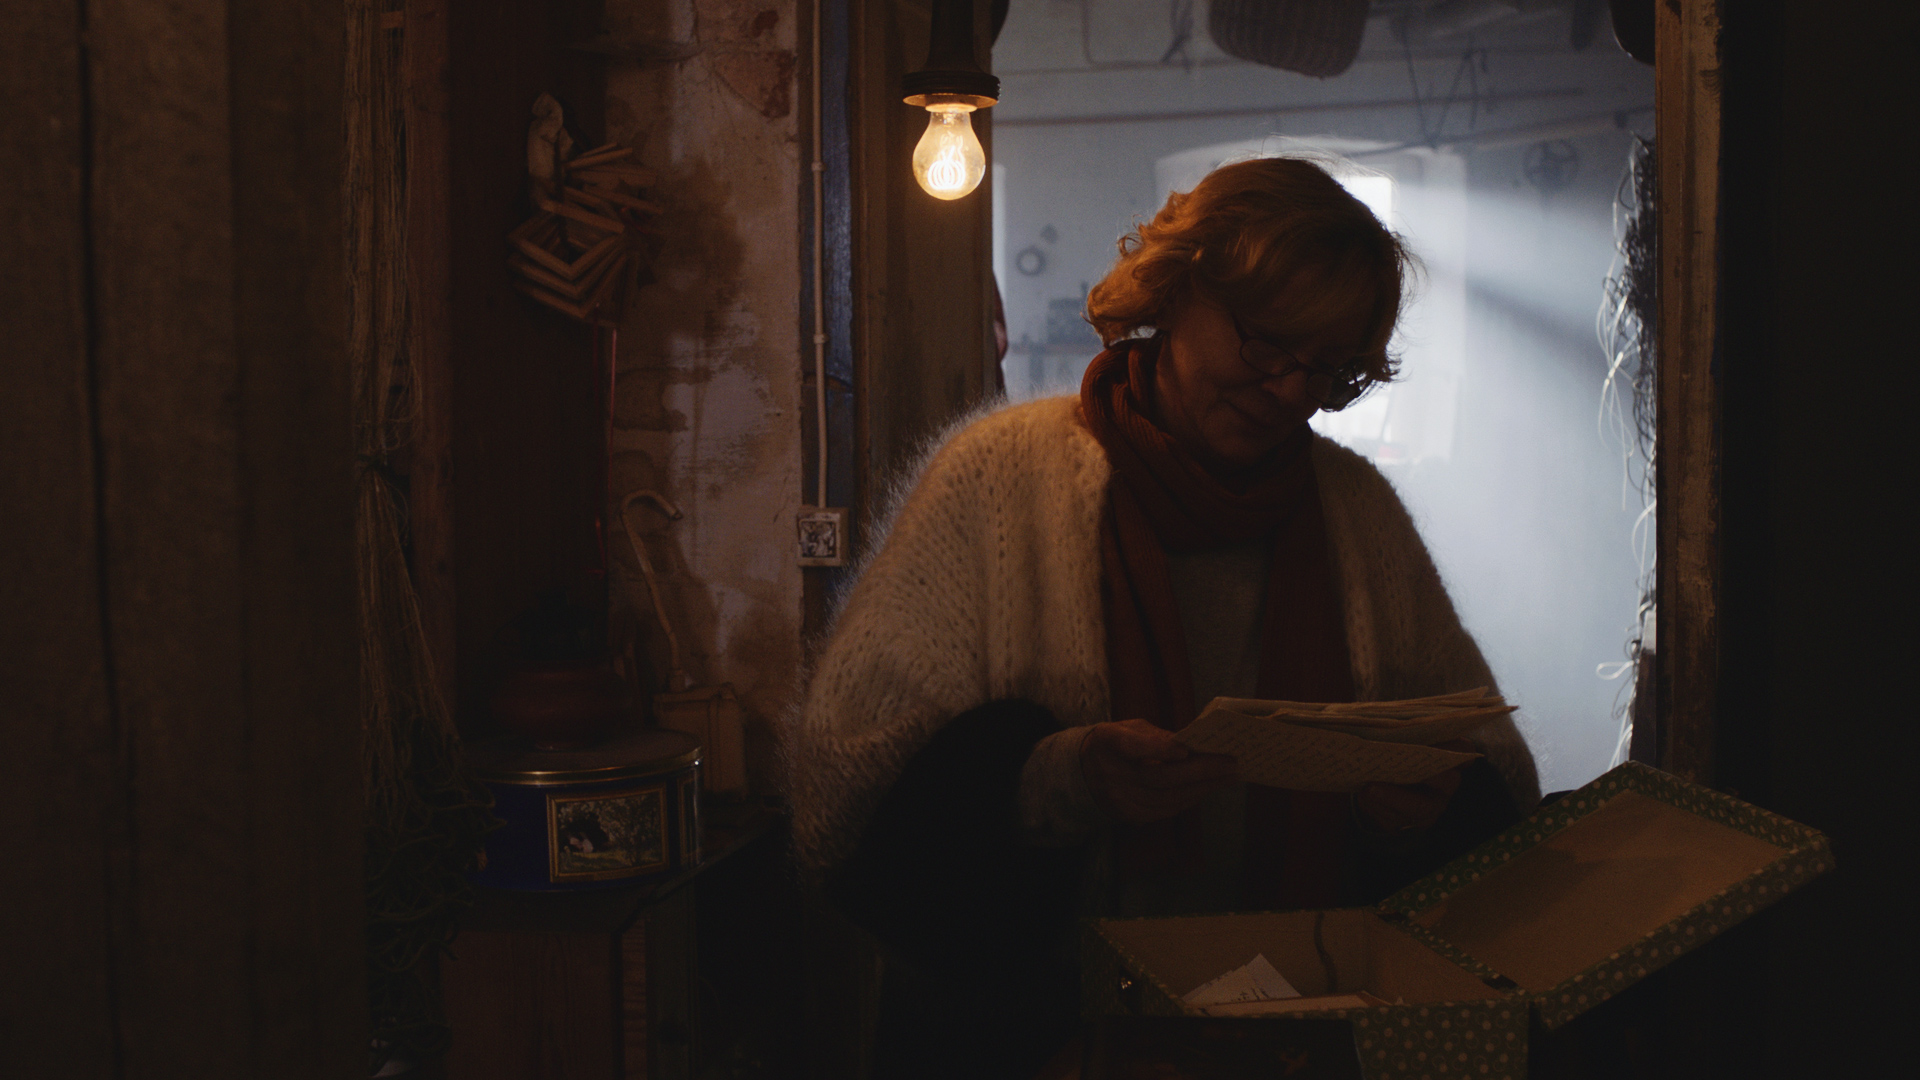
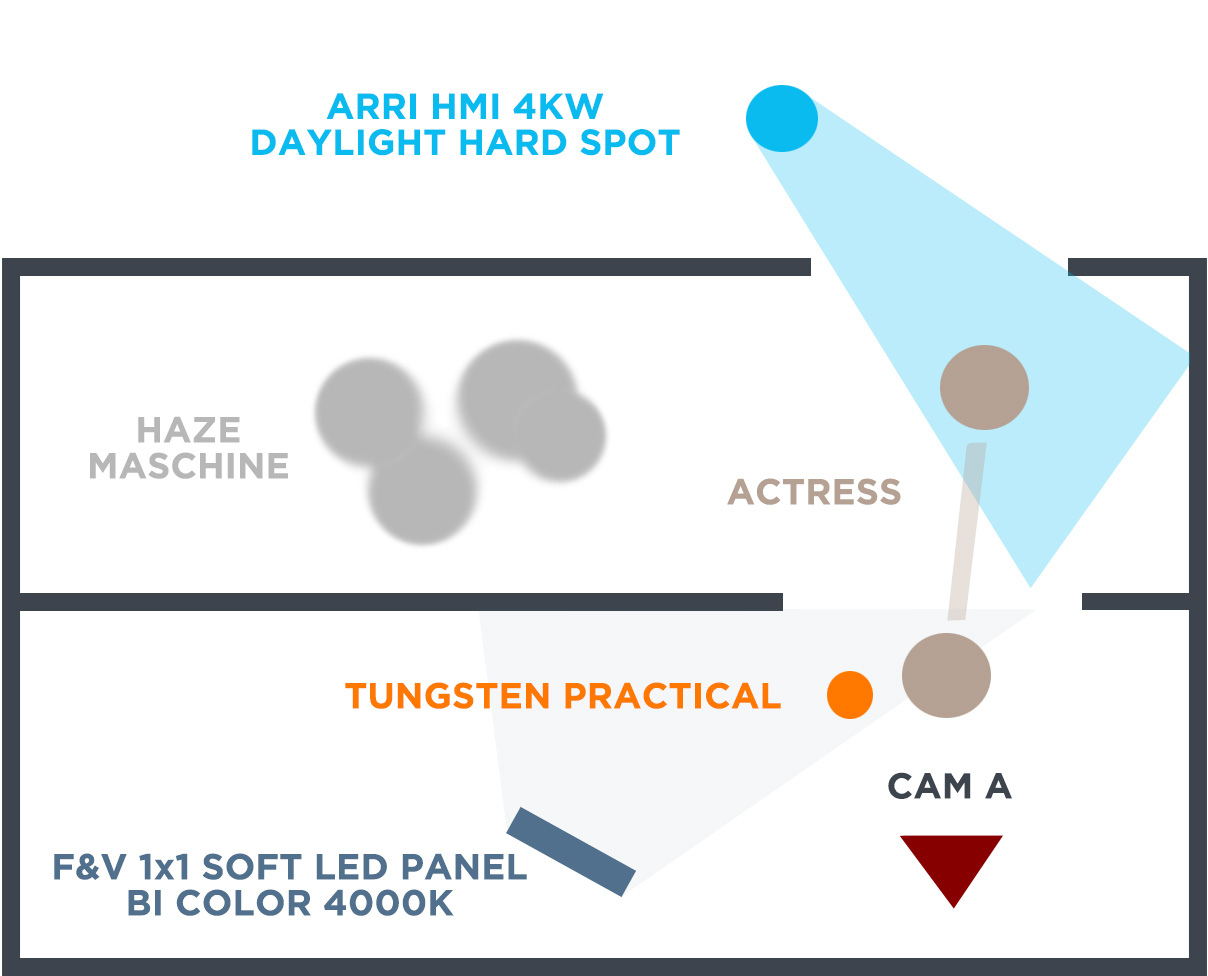
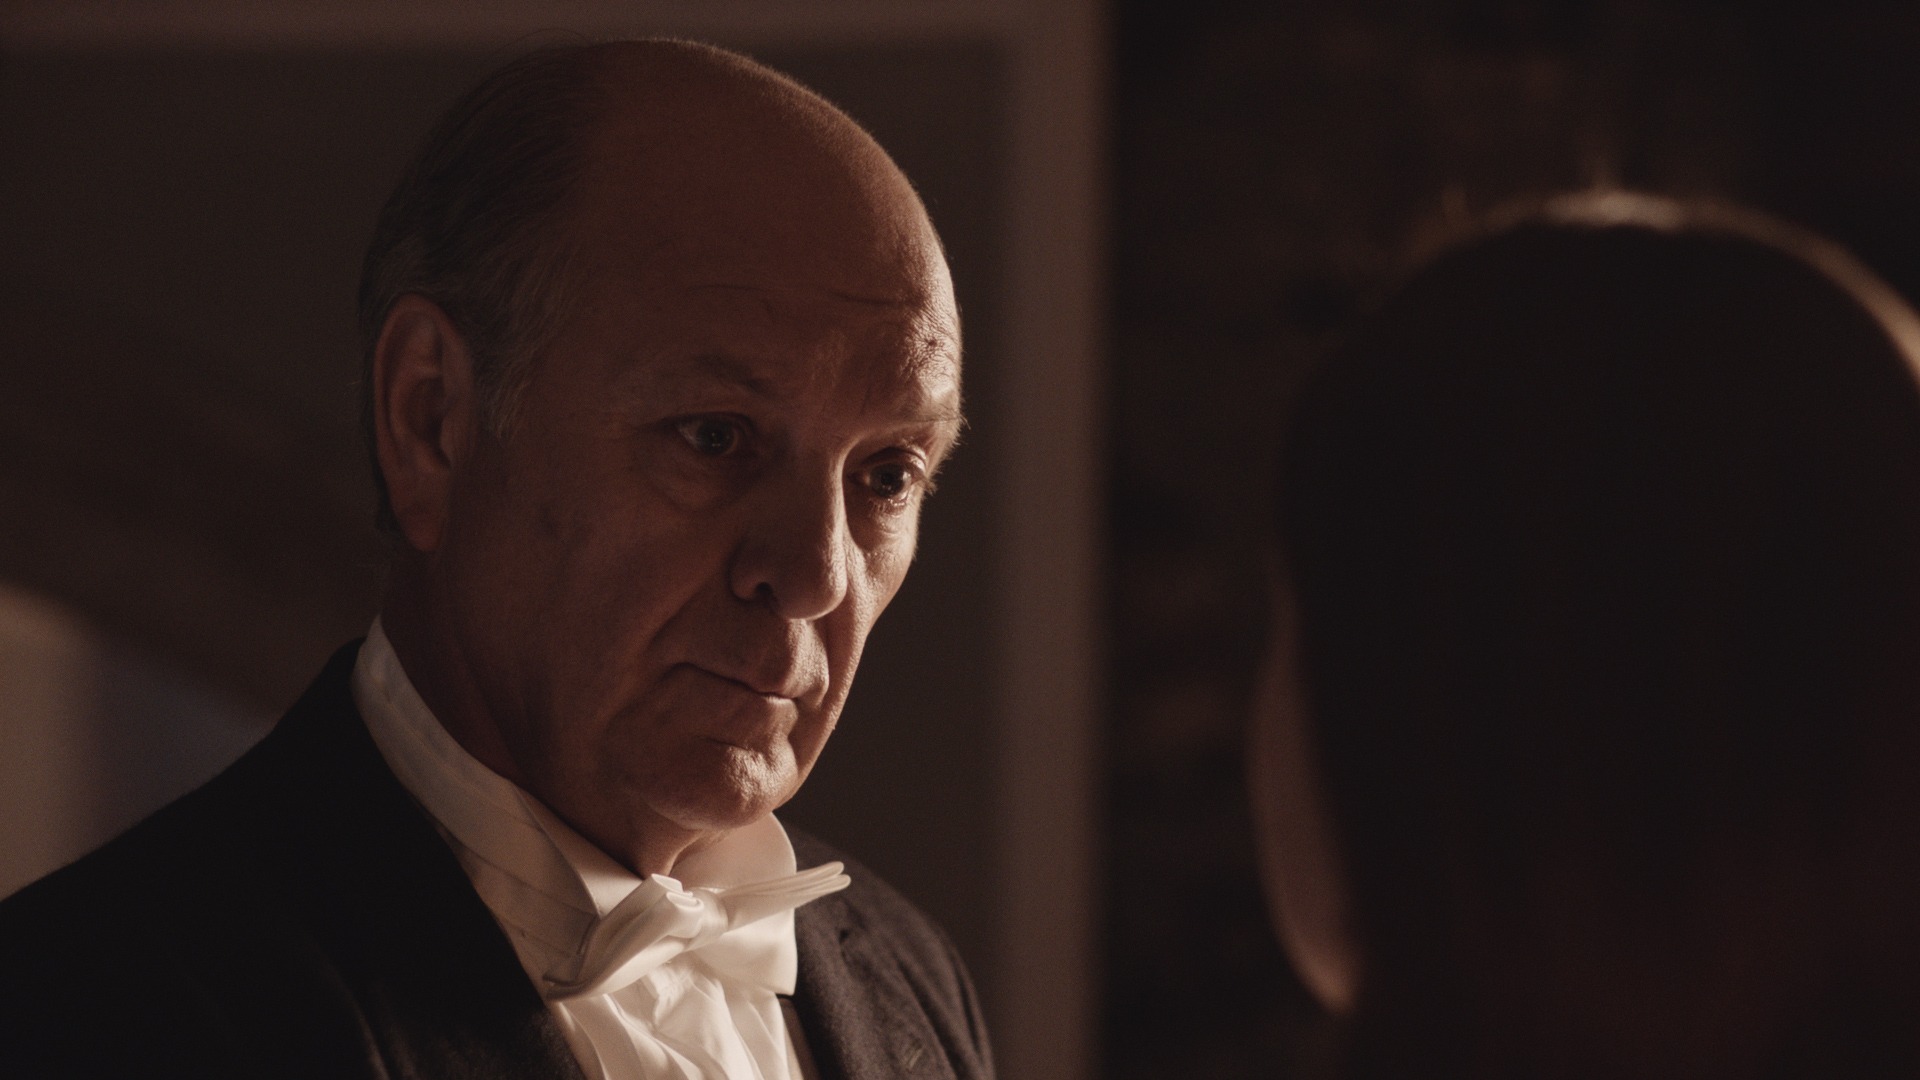
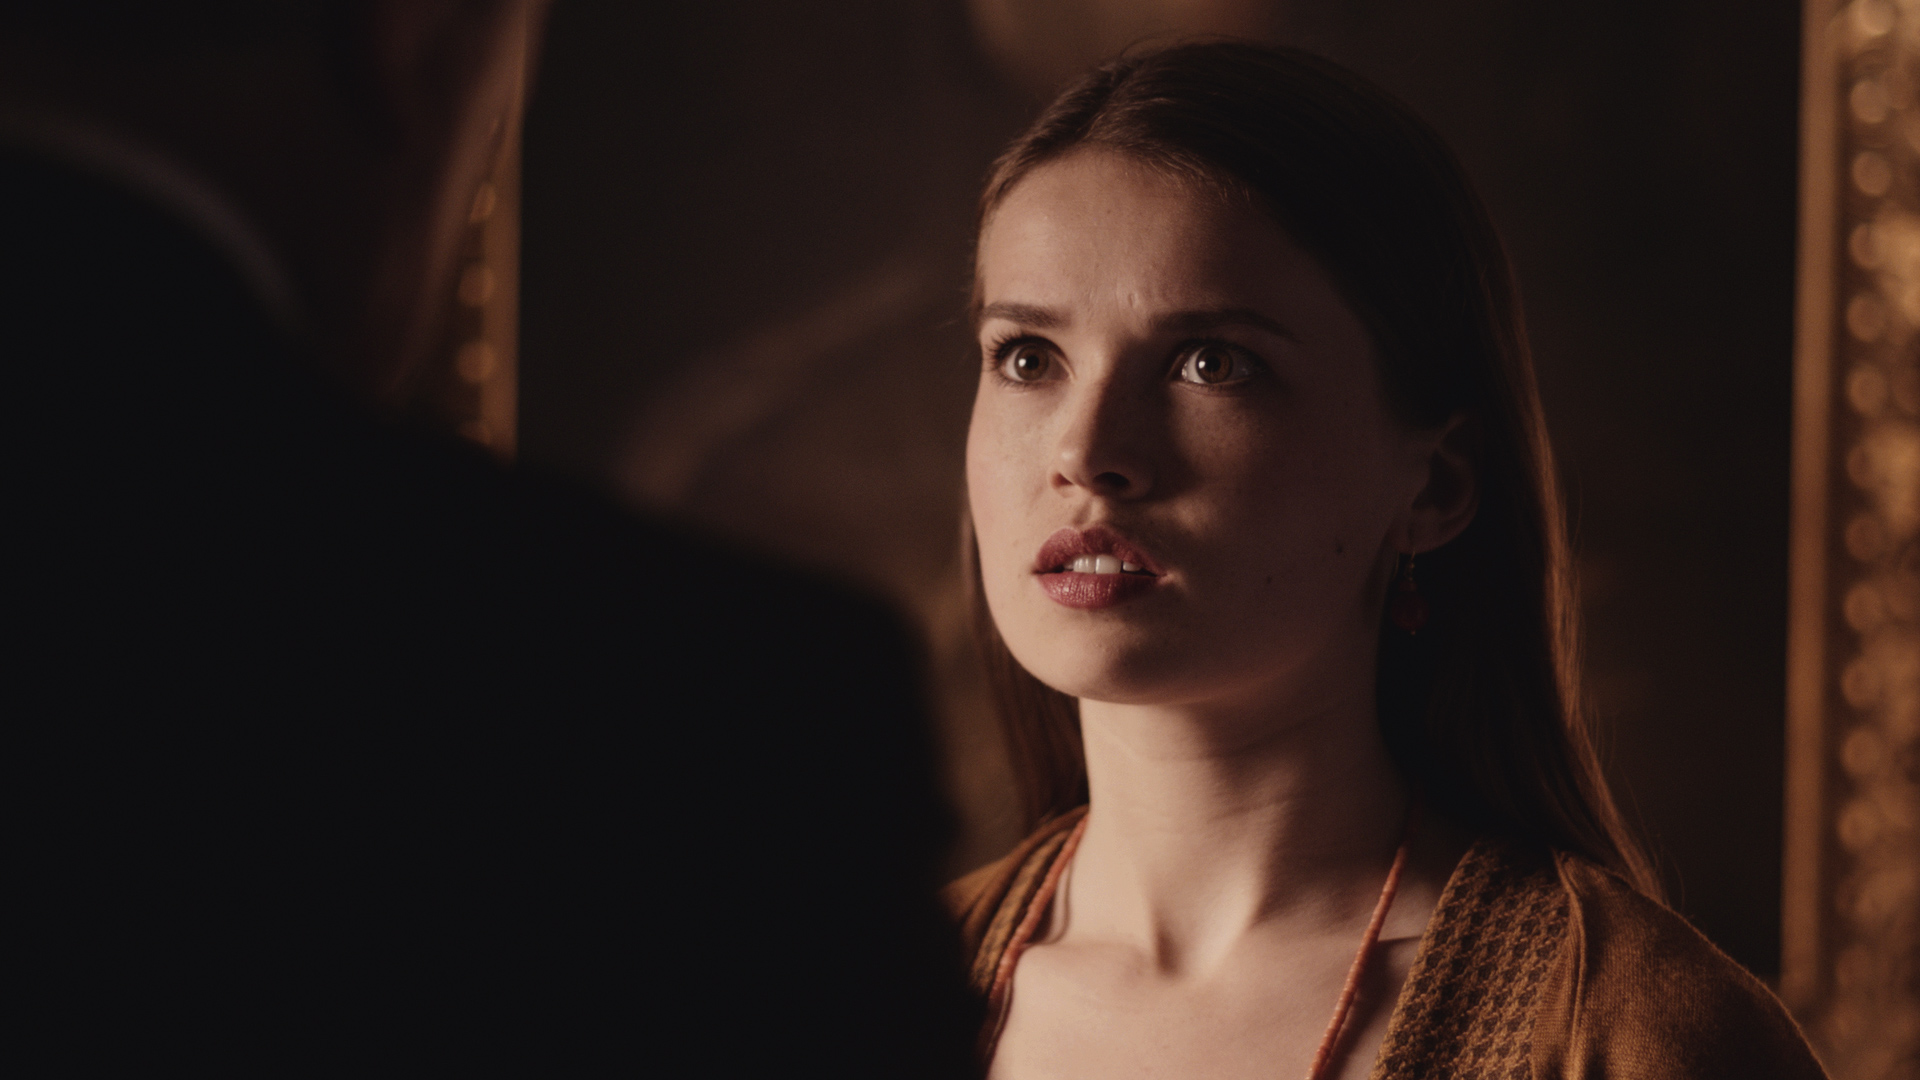
This Feature Film was shot 2015 on Location in Öland, Sweden. In this particular scene our actress was in the Basement, looking for a box full of memories. It was a quite easy setup and we only used two lights. From outside we brought in an ARRI 4KW Daylight HMI. As a small fill light we used a practical, hanging from the ceiling in the room, where she finds the box. The light is off in the beginning, but she turns it on, when she enters the room. It’s also a kind of rim light for her, when she’s looking into the box. As direct fill light we used a simple F&V Lightpanel 1×1 with Soft Diffusion.
How can you create those shafts or light beams?
One thing I’m doing most of the time is using haze to create some atmosphere within the rooms. Sometimes you have boring rooms, no texture, it’s simply flat. I’m using haze machines to create a very subtle, atmospheric feeling, making light visible within the locations and the story. In this scene it fits perfectly. The actress Chrisine Schorn is a painter and the first room with the light beam is her working place. I thought it would fit perfectly, if a light beam comes into this room, which also seperates her, when she is in the moody and dark room. But how can you create something like this? First of all, you need a hard light. It doesn’t work with a soft light and it doesn’t work, when you are using a diffusion frame in front of your hard light. The light has to be spot on. The ARRI 4KW HMI is perfect for something like this. I’ve also used several Altmans 1KW on other scenes, which are quite cheap and they are creating a good spot as well, but of course the ARRI 4KW has more power. The second important part is the placement of the light. It works perfectly als a backlight, but if you are placing the light behind your camera, you really can’t see a light beam, it will look like crap. So always try to bring in the hard light from the back, perfectly in a range of 45° to your camera. If your back light is too bright, don’t dimm it. When you have an arsenal of lights, just take one with less power or use a scrim in front of the light in order to get less output. It’s a kind of a net, and you can have it in different strengths. But please don’t do the mistake and dimm your light, it will give you a very green output, which doesn’t look natural.
Working on TV dramas is always something where DOPs have to handle enormous time pressure. Decisions have to be made fast and when I mean fast, you have to light, build tracks and camera movements after rehearsal in a very short time frame. If the production needs overtime because of wrong decisions you made, your whole schedule of the coming days is falling apart and the production company has to pay more to the team. This means you always have to know what you are doing. And using haze needs time. It has to settle, otherwise it’s wobbling and you can see the haze moving during the take. If you are using haze, you have to know that it will cost you at least 30 minutes a day. And 30 minutes is a lot for TV-Dramas with 5-7 minutes on some days. After several takes you need more haze, so your SFX or Prop Guy has to do it again, it has to settle and then you are ready to shoot again. Also remember if you are shooting with a two camera setup, it may look great on your wide angle shot, but it can look quite bad with a long lens for the medium shot. It depends where your camera B position is. Most of the time you have to wait a few minutes, so you have less atmosphere in the room and you can get your medium shot. Always keep in mind, that using haze takes some time. But it is worth it? Yes, it is!!
Last but not least I would like to share a light plan with you. If you have any further questions, please us the comments below or contact me with comments on my other Social Media Streams.
Take care,
Sebastian
What's coming next?
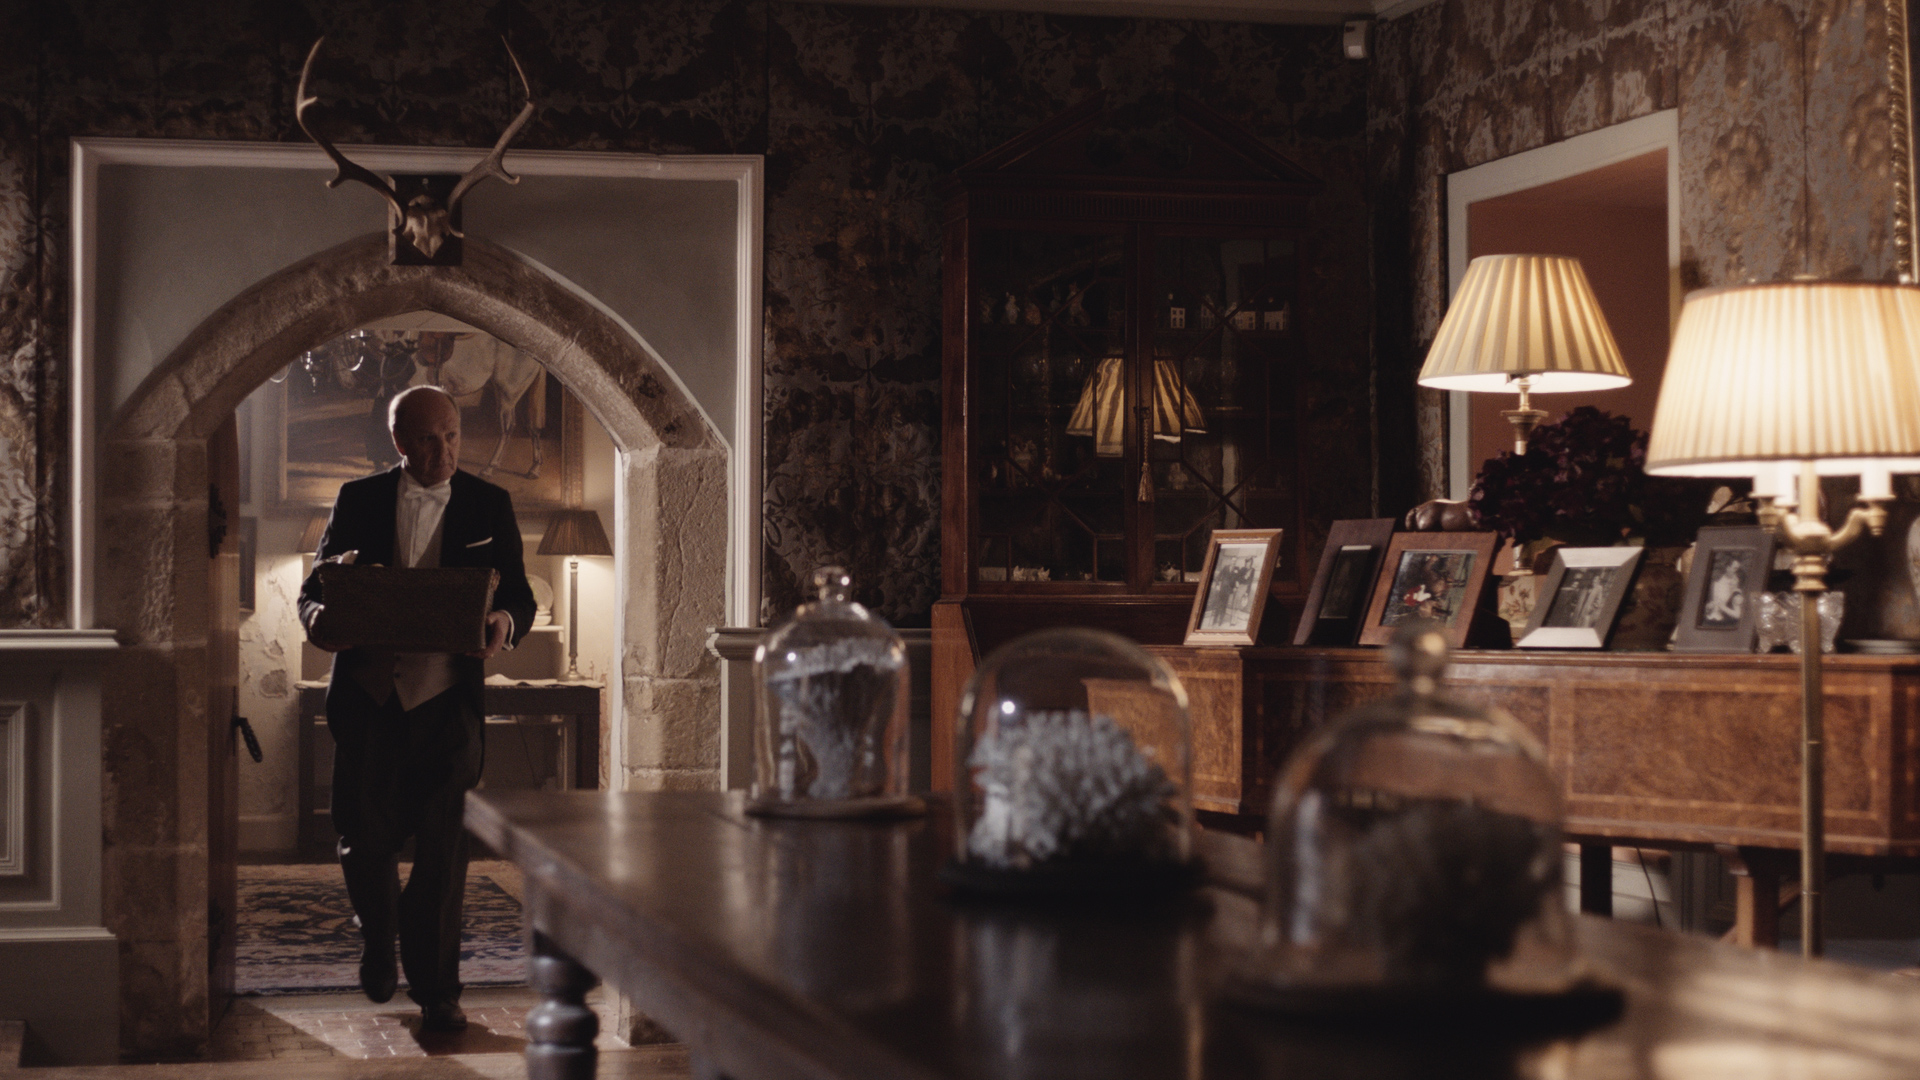
The second part of my Lighting Techniques Tutorial Series. Two cameras shooting at the same time. Wide angle shot and Medium Shot. Two close ups simultaneously. Benefits and issues when shooting with multiple cameras at the same time and how to light for it.
Update – Part 02 is online:
Lighting an Interior Scene for two Cameras
If you’d like to be informed about it, please connect with me on my Social Media Streams: Instagram – Facebook – Twitter


Great write up here, Sebastian.
I’ve been using haze for a while now and have to agree that patience is key with it. There is nothing more sickly than a frame with moving haze.
Glad to see the F&V lights are still being used 🙂
Yes, using it some times. Also the Velvet ones in the past. But this year I only used LED light for some fill for walls etc. I tried to use the Dedolight Panaura series the whole time for medium and close up shots, which is a lovely soft light.
Color temp of LED panel should match color temp of tungstun bulb…??
Hi Sirilesh, it can match. But I decided to do a mixture of it. It gives you a quite cold look and feel at the wall. I’m trying to work with color contrast some times. In some rooms I only use daylight, in the next room I use Tungsten. That gives you a separation between rooms and looks way more interesting. But I understand your point. If you have a tungsten practical, you mostly intensify this tungsten light source with a tungsten light.
Sebastian
Great stuff. What is the lighting ratio for this scene ad what were your readings at the window and the fill? Thanks
I’m not sure about this anymore. But in my next Tutorial I will go into detail about ratios.